

My first step was to cut panels for the front of my cards. My card bases are 4" x 5-1/2" and I wanted to frame the center panel, so I cut them 3-1/2" x 5". I prefer to have 1/4" between layers on my cards.

With the MISTI open, I placed the paper where I wanted to set up the stamps. I chose the stamps for the card and arranged them on the card panel. Once the MISTI closed on the stamps, they clung to it and it was set up to make as many cards as I wanted.

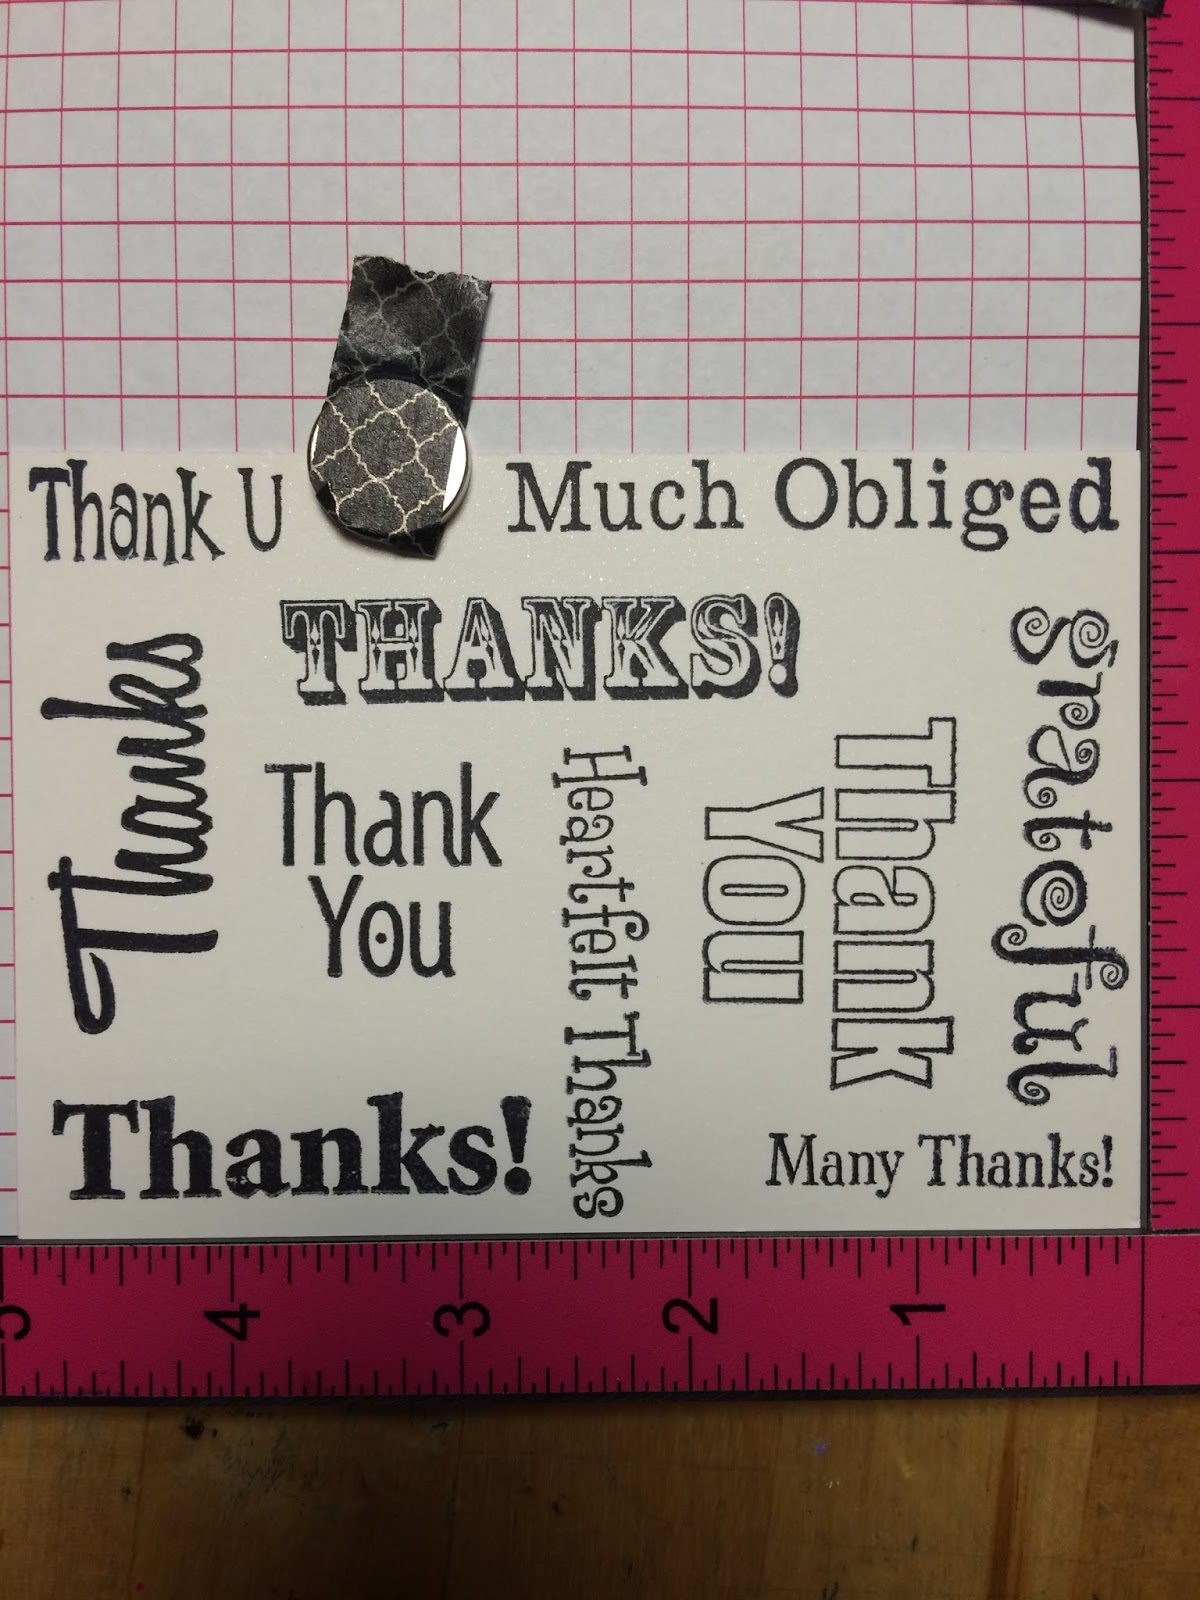
A little black Archival ink by Ranger, and a firm pressing down, and there it is.

Next I used This Hero Arts Ombre pad.


I oriented the ink pad with the blue side out, and the pink side in the middle. I wiggled it over the stamps on one side, then turned it around and did the same on the other side.

This time I had to re-ink the stamps several times and press down before the words looked right. I love that you can do that with the MISTI. These cards can be made using an acrylic block, but if you have trouble with the ink like I did, it really helps to be able to repeat your stamping in exactly the same place.
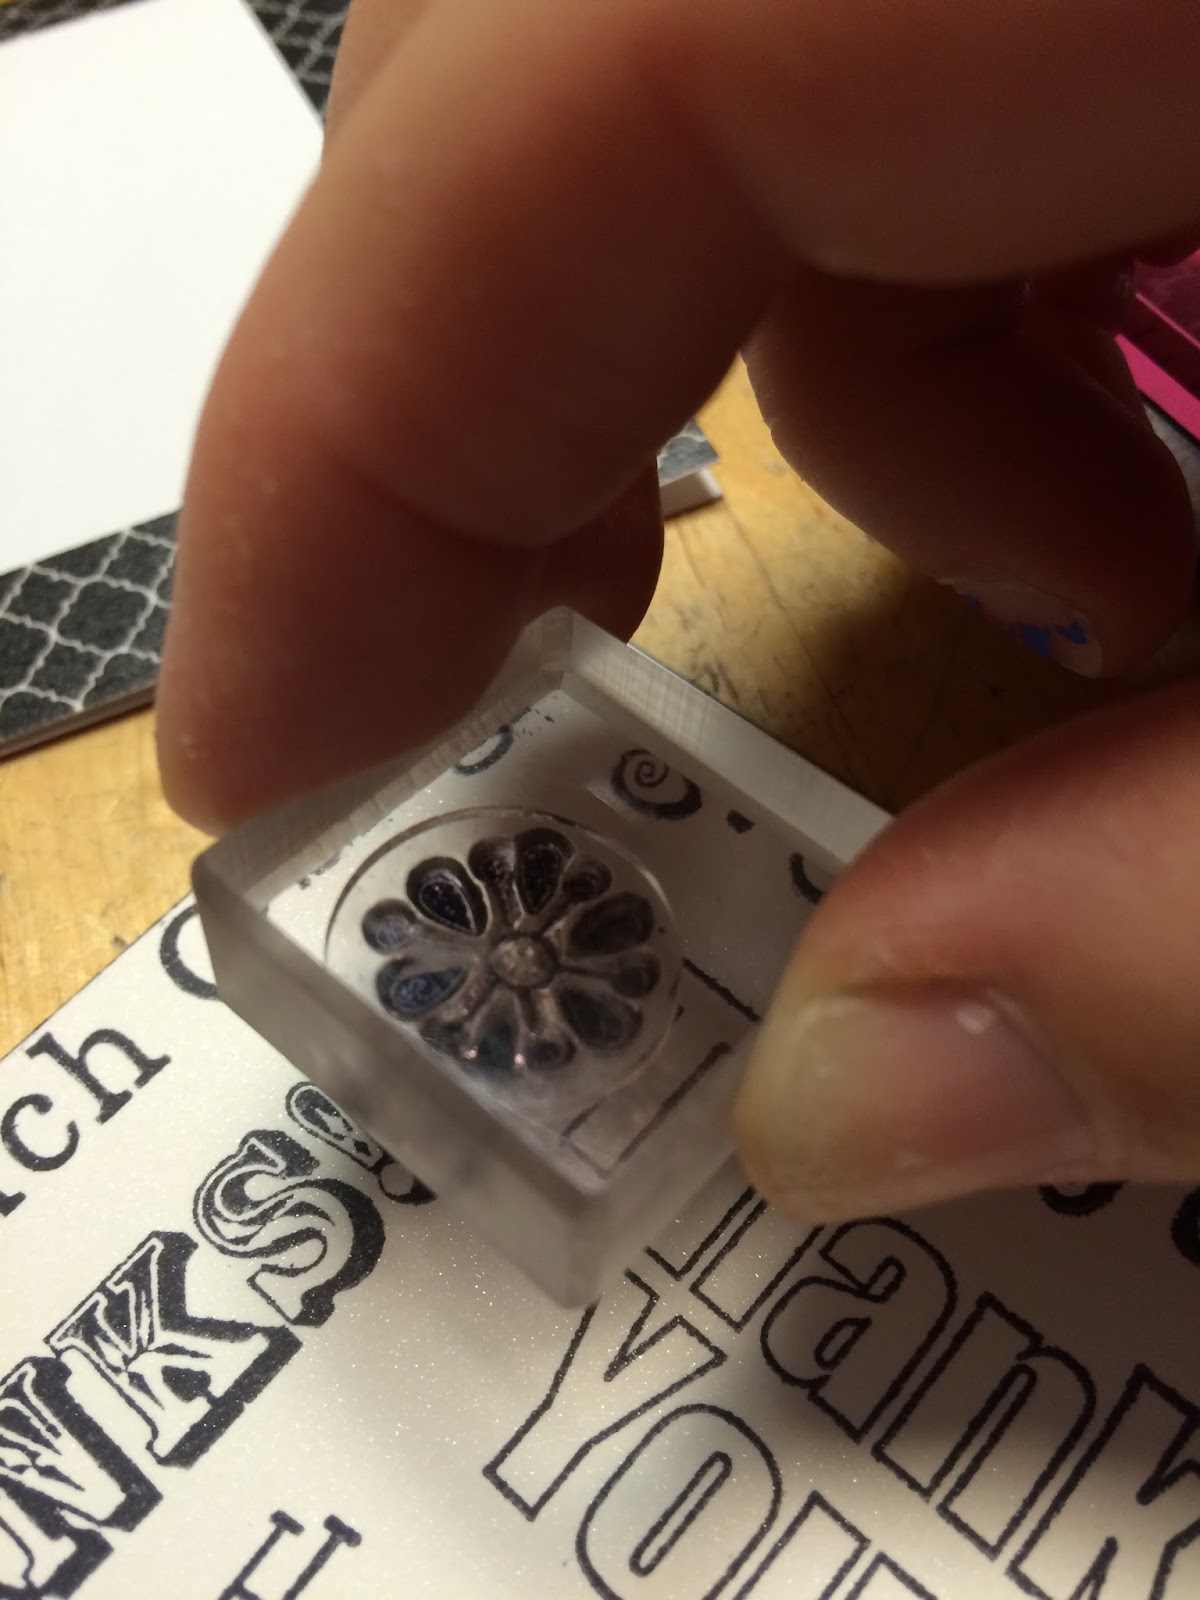
I decided to fill in some spots on the card front with some random little stamps I had. I think they were part of a $1 set I'd picked up at Michael's craft store. (I did the same with different stamps on the colored front.)

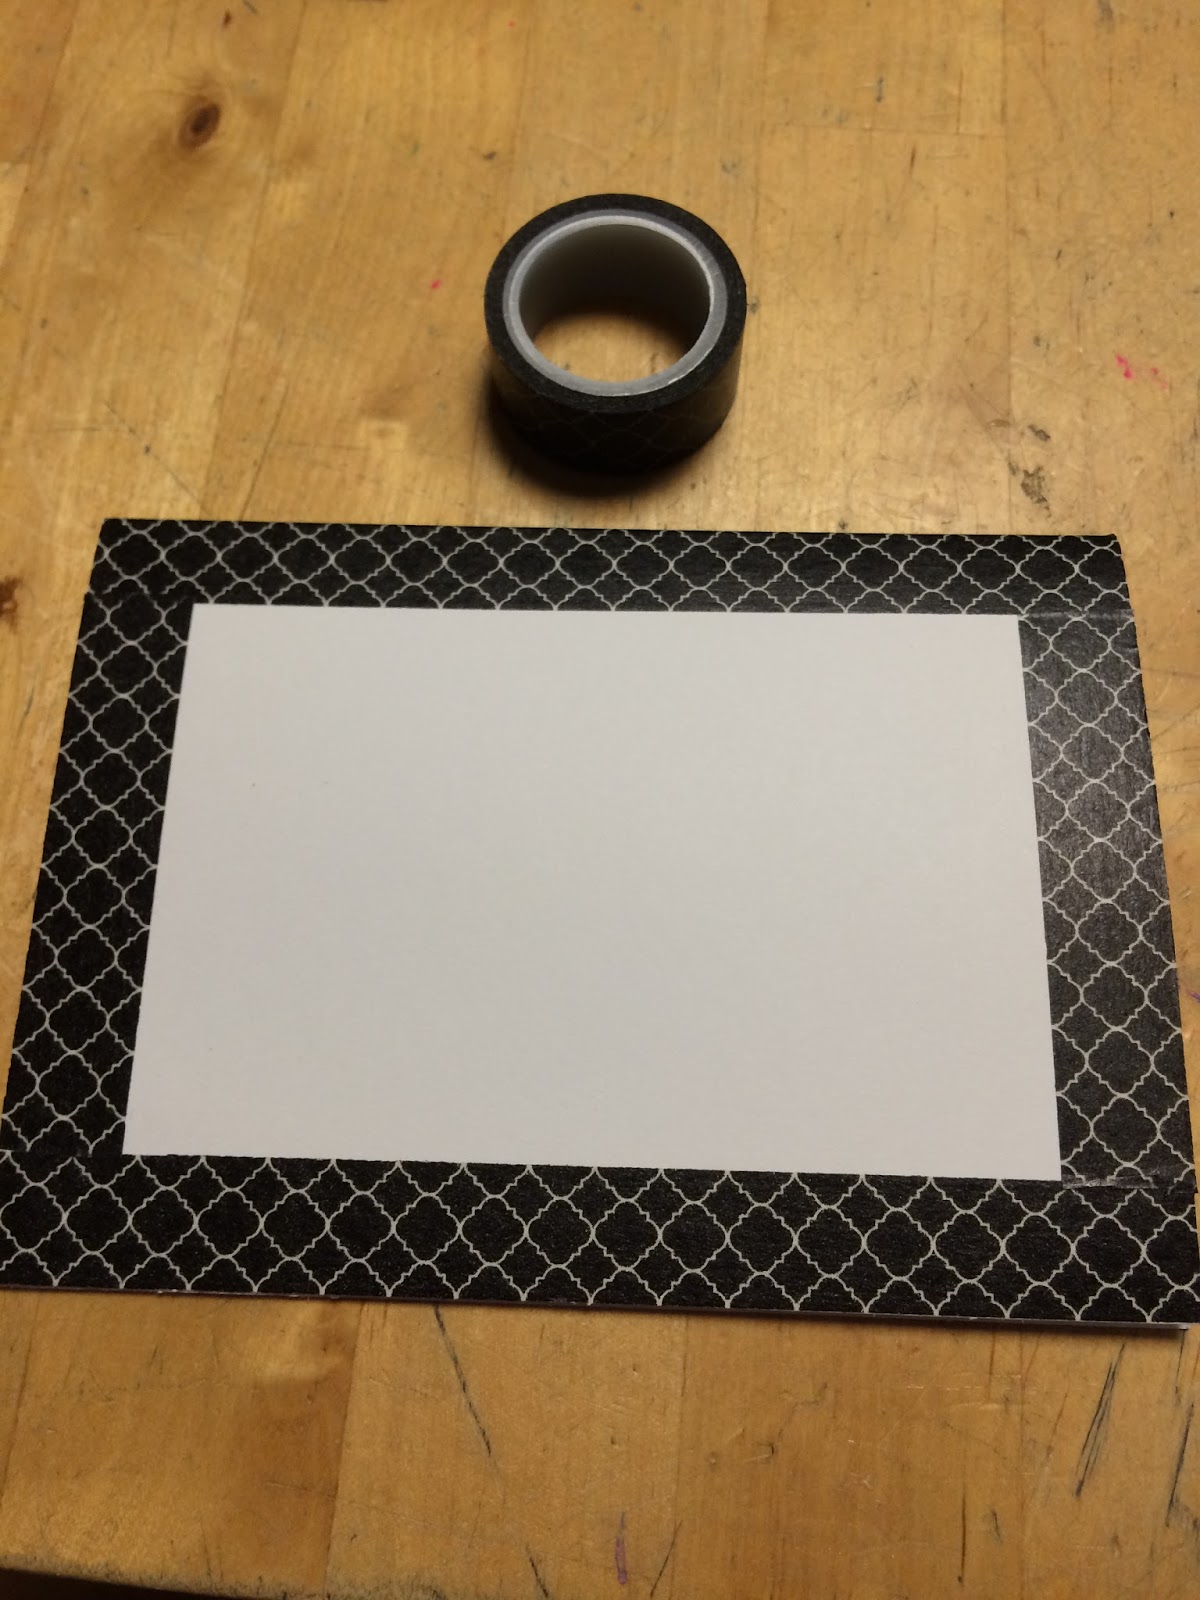
I used black and white washi tape to edge the card for a simple finished look.

It may be difficult to see in the picture, but I edged the panel with the black ink by just running the paper over the ink pad. I cut foam and made a sandwich between the card base and the panel.

To complete it I added faux pearls and a little Wink of Stella. The fun part is I can turn this card and use it in either the portrait or landscape orientation depending on my mood when I use it!
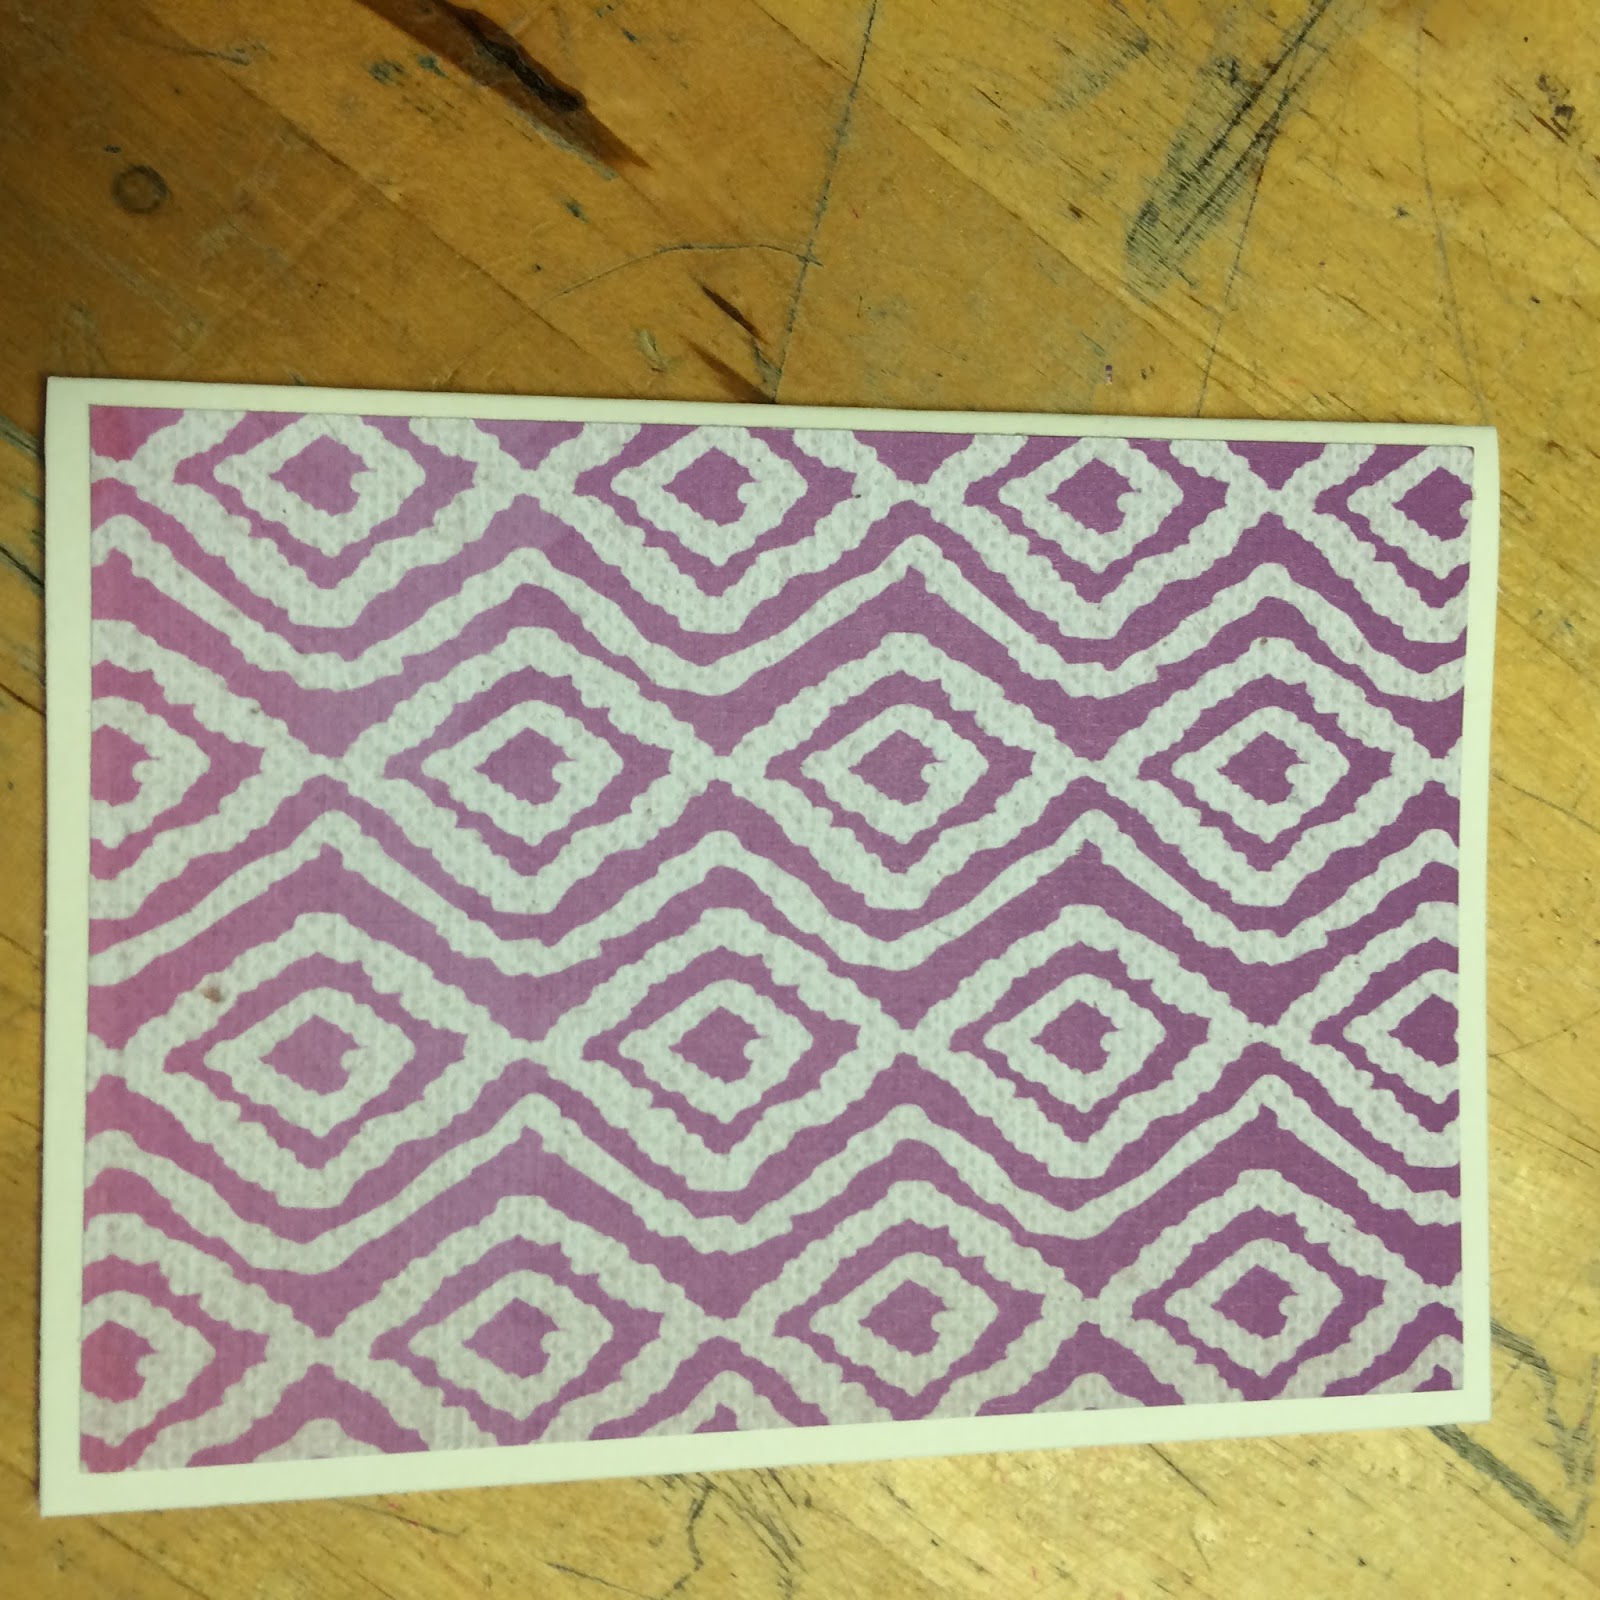
For the colorful Thank You card, I chose some colored paper from the Color Splash collection by Recollections. Michael's was selling it at 70% off and that was when it came home with me.

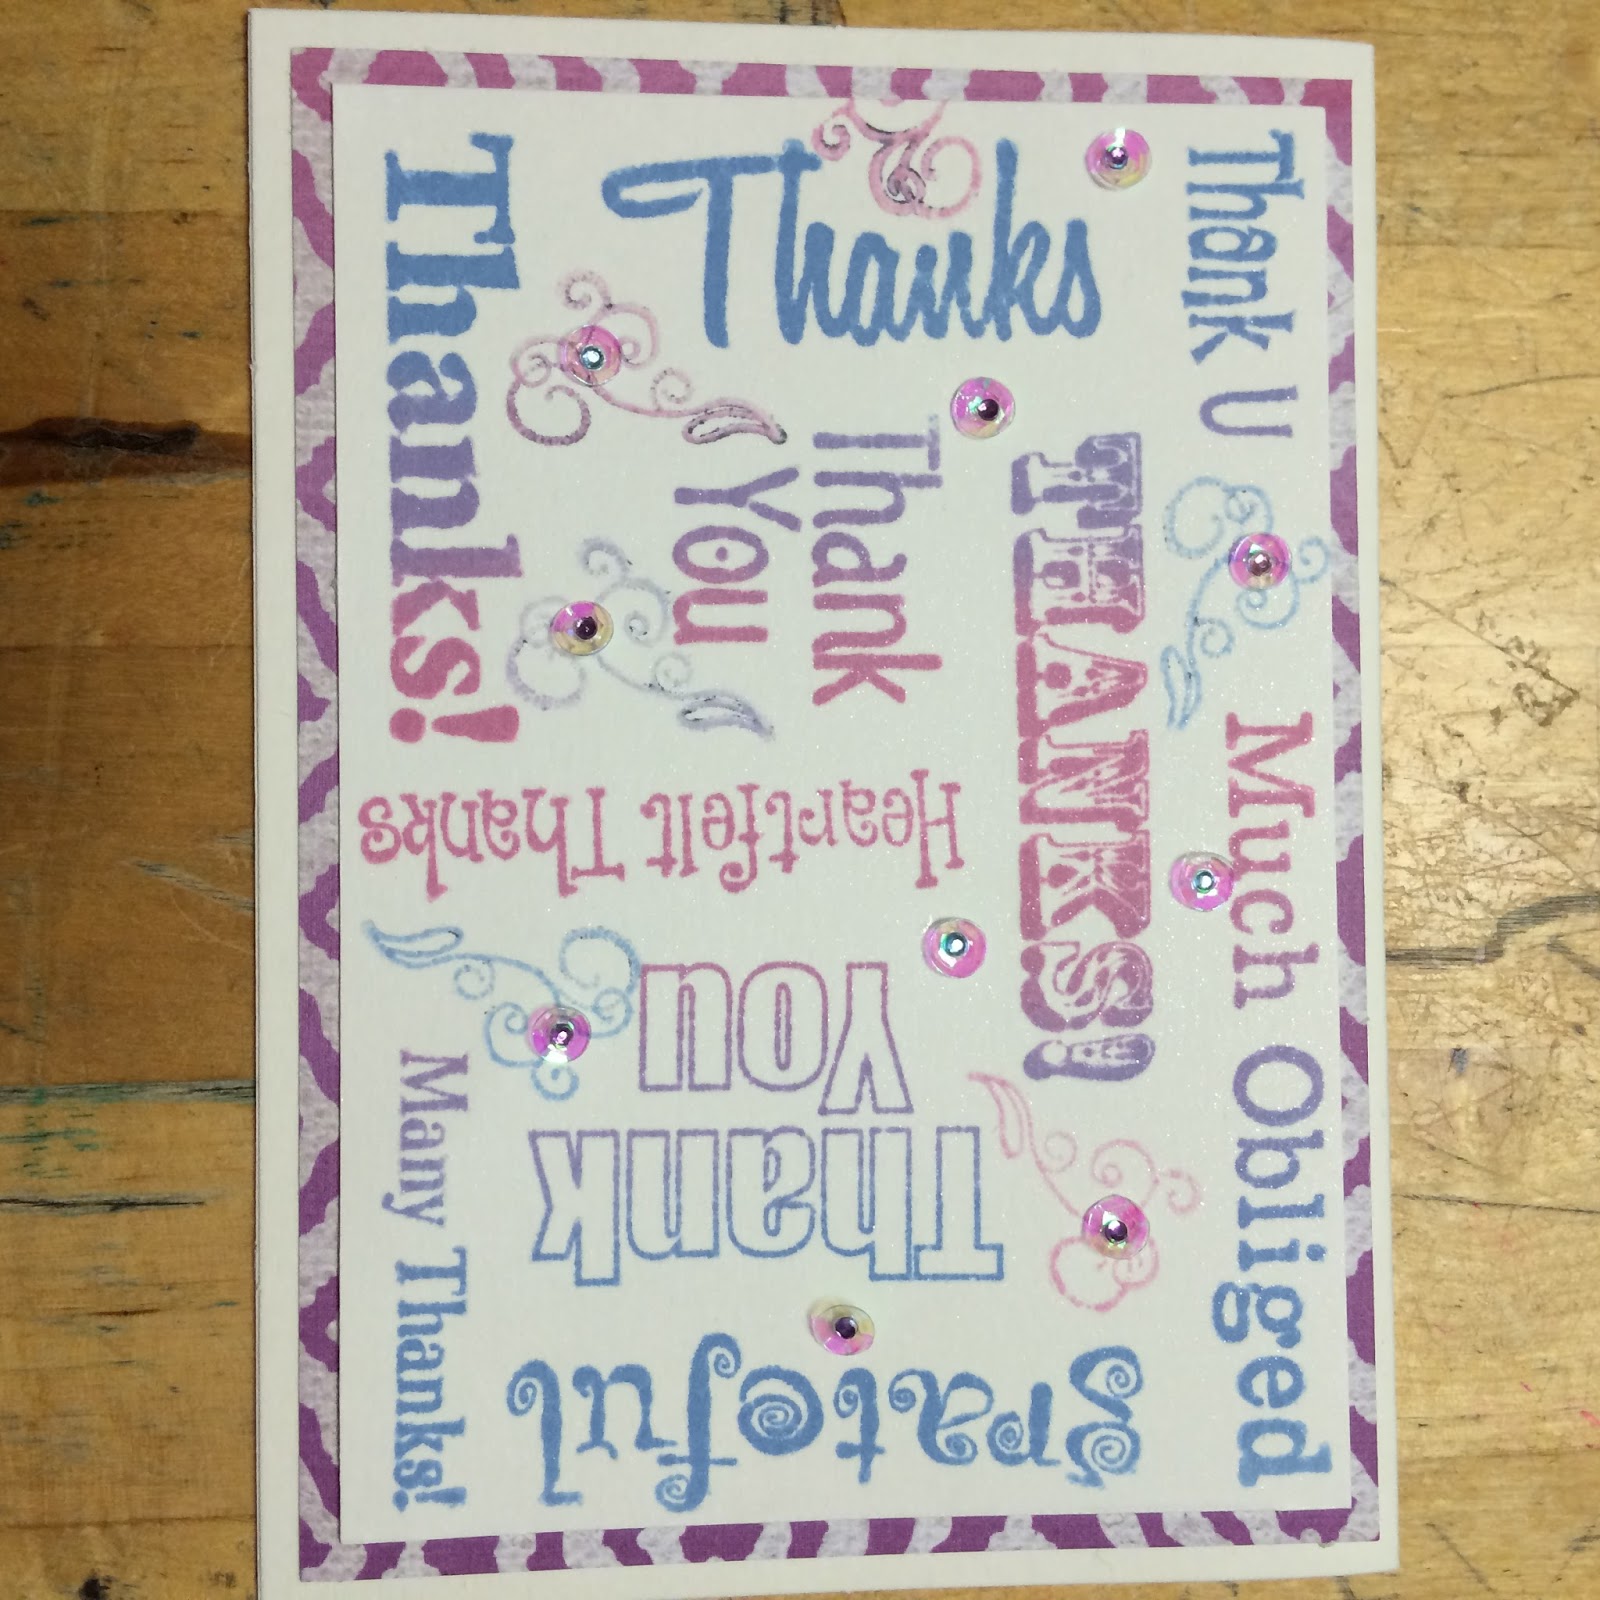
This time I did not raise the panel, but taped it all flat.
This card will do, but I don't think the paper and ink like each other. The ink pad is new to me, so I'll just keep trying it out with different papers to see what works best.
I hope you are inspired to put some stamps together to make a card. Have fun, and THANK YOU for visiting!
No comments:
Post a Comment